
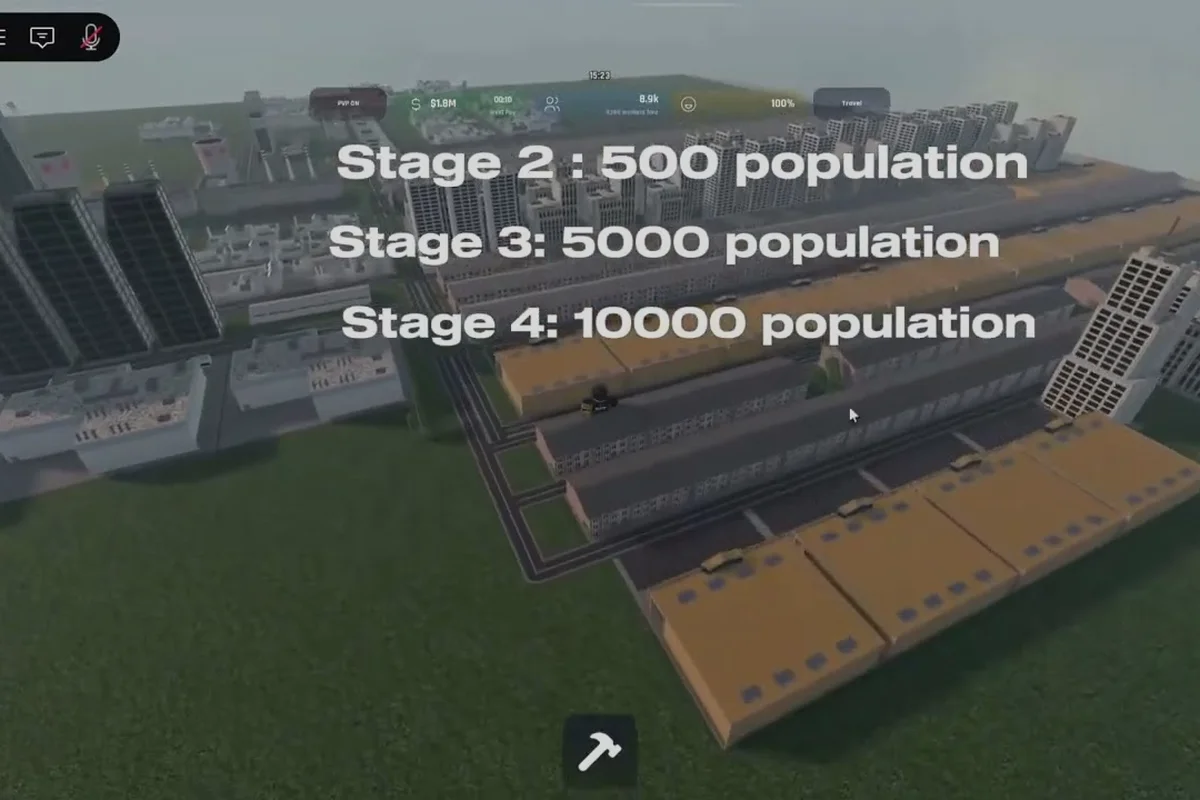
A dense city block in Build and Conquer V0.1 beta can flip from a slow trickle of coins to a steady gusher once you stack the right income buildings, but every extra shop also drags in upkeep, worker slots, and happiness pressure. Mastering profit margins is the line between a city that funds its own war machine and one that bleeds dry after a single raid, which is why this commerce guide breaks down the real numbers behind the dense city economy players have been refining since the V0.1 patch dropped.
Cost structures and margin benchmarks for Build and Conquer can vary widely depending on production scale and target market, so for up-to-date figures and community-tested strategies you may want to consult dedicated video walkthroughs and analysis, such as those aggregated on the Build and Conquer profit margins YouTube search results.
Reading the Numbers Behind Build and Conquer Profit Margins
Profit margins in this game are not a single hidden stat. They are the live gap between what a commercial block pulls in per in-game day and what that same block costs to run, after worker wages, service upkeep, and military spending have all been subtracted. According to community data collected during the V0.1 beta, a compact three-by-three block of shops inside a dense city economy can swing from barely breaking even to tripling its net output depending on which services sit underneath and how close workers live to their jobs.
The first thing to internalize is that raw income is not the same as profit. Players often screenshot a supermarket pumping out 2,400 coins per cycle and assume they are rich, but the moment you deduct the wages of the four workers staffing it, the maintenance of the connected road tile, and the share of the city happiness budget it consumes, the real number can fall by 30 to 50 percent. Community-reported profit margins from the V0.1 beta place a well-placed supermarket at roughly 1,300 to 1,700 net coins per cycle when happiness stays above 75 percent, and that is the number you should plan around.
The second thing to read carefully is the worker ratio. A shop without workers is a billboard; a shop overstaffed with idle workers is a salary drain. The community has settled on a rough rule of thumb: one income tile per 1.5 workers in the surrounding housing ring, which keeps both the production and the wage bill at healthy equilibrium. If you want a deeper breakdown of the wage side, the worker and wage guide covers the early-to-mid-game worker math in detail.
Core Income Sources Ranked
Not every income building pulls the same weight per tile. This economy tier list reflects what community testing has produced during the V0.1 beta window, and it should be treated as a snapshot rather than a permanent ranking, because the developer has hinted that commercial balance will be revisited in future patches.
| Rank | Building | Approx. Gross / Cycle | Worker Slots | Net Margin (Happy City) | Best Use Case |
|---|---|---|---|---|---|
| S | Supermarket | 2,400 | 4 | 1,500–1,700 | Dense city core, backed by housing |
| S | Mall | 3,200 | 6 | 1,900–2,300 | Late-game anchor, requires road network |
| A | Shop | 900 | 1 | 550–650 | Early-game backbone, scales with density |
| A | Office | 1,600 | 3 | 1,000–1,200 | Mid-game stabilizer, lower happiness cost |
| B | Market Stall | 450 | 1 | 220–300 | First-day cash infusion only |
| B | Workshop | 1,100 | 2 | 600–750 | Mixed-use blocks, secondary income |
| C | Luxury Store | 1,800 | 3 | 700–900 | High cost, needs 90 percent happiness |
The takeaway from the table is simple: supermarkets and malls are the headline earners, but shops and offices are the reliable backbone. If you want a broader view of how each building feeds into a working budget, the Build and Conquer economy guide walks through the full income ladder from market stall to mall.
Dense City Economy Layouts That Actually Pay Off
Packing buildings tight is not automatically a win. A dense city economy only works when the supporting infrastructure is in place, and that means roads, housing, and services have to grow in lockstep with the income tiles. Community testing during the V0.1 beta showed that the best profit margins came from layouts where every commercial tile was within two squares of a residential block and one square of a service building.
The most consistent pattern players have shared is the three-by-three commercial core surrounded by a one-tile ring of apartments. This shape minimizes the walking distance workers need to cover, which keeps their productivity high and reduces the number of "no worker available" stalls that quietly bleed profit. Inside the core, the proven combination is two shops, one supermarket, and a market stall, which gives you a mix of low-cost and high-volume income that scales smoothly as you add more housing rings outward.
A second layout that has been gaining traction is the "commerce spine," a single line of mixed shops and offices running through the middle of a residential district, with services at each end. This shape is cheaper to build than a full three-by-three block and can be expanded in segments, but it requires careful road planning because a single broken tile can stall the entire line. According to community testing, commerce spines hit about 80 percent of the profit margins of a full core block while costing 40 percent less in upfront construction, which is an attractive trade when you are still building up your war chest.
The third layout worth considering is the hybrid ring, where commercial buildings sit in a ring around a central service hub, with housing on the outside. This shape has the highest happiness ceiling because every commercial tile is close to a clinic or a park, but it also burns through service upkeep faster, so it is best reserved for late-game cities where you have already stabilized your baseline income.
Layout Profit Comparison
| Layout Type | Build Cost (Relative) | Peak Net Income | Happiness Floor | Best Game Phase |
|---|---|---|---|---|
| 3x3 Core + Apartment Ring | High | Very High | 70% | Mid to late game |
| Commerce Spine | Medium | High | 65% | Early to mid game |
| Hybrid Service Ring | Very High | High | 80% | Late game only |
| Scattered Shops | Low | Low | 60% | Tutorial / first hour |
The key insight from this comparison is that density pays, but only when it is structured. A handful of shops scattered across the map will always underperform a single tight commercial core, because the workers spend more time commuting than producing.
Balancing Income and Spending Without Going Broke
Balancing income and spending is the part of the economy that trips up most new players, because the spending side is spread across at least three different budgets that all draw from the same pool. War upkeep, service maintenance, and worker wages each have their own meter, and overspending in any one of them can starve the others within a single in-game day.
The first rule of balance is to keep military spending capped at roughly 25 to 30 percent of your gross daily income. Community testing during the V0.1 beta showed that going above this threshold leaves almost no slack for service upkeep, and a single dip in happiness will quickly snowball into abandoned shops and collapsing margins. The second rule is to treat services as an investment rather than an expense; a single clinic or park that keeps happiness above 75 percent can raise the effective output of every nearby commercial tile by 10 to 15 percent, which more than pays for itself over the course of a few cycles.
The third rule is to never let worker wages exceed 40 percent of gross income. Workers are the engine of the whole system, but they are also the most flexible line item, because you can slow down hiring or pause residential growth when you need to free up cash. A simple way to think about it is: if your city is profitable but your treasury is still flat, your wage bill is almost certainly too high relative to your commercial output.
Daily Budget Snapshot (V0.1 Beta)
| Budget Line | Recommended Share | Hard Ceiling | Effect of Overspending |
|---|---|---|---|
| Worker Wages | 30–35% | 40% | Lower reinvestment, slower growth |
| Service Upkeep | 10–15% | 20% | Happiness crash, income drop |
| Military Upkeep | 25–30% | 35% | Service starvation, defensive collapse |
| Construction Reserve | 20–25% | 30% | Stalled expansion, missed upgrades |
| Emergency Buffer | 5–10% | 5% minimum | No room to recover from raids |
The emergency buffer is the line most players skip, and it is the one that matters most when a rival sends a raid through your commercial core. A city with even a five percent buffer can survive a single hit and keep producing, while a city running at full capacity will stall for two or three cycles as it rebuilds worker morale and repairs damaged tiles. For the offensive side of war spending, the missile cooldown and damage ranking page is a useful cross-reference for sizing up what your military budget actually buys you in combat.
Top Money Farming Spots and When to Use Them
Money farming spots in Build and Conquer are not just about finding the right tile; they are about finding the right moment in the city's growth curve. A spot that is profitable in the late game can be a money pit in the early game, and vice versa, because the supporting infrastructure changes so dramatically between phases.
The single most reliable farming spot community players have identified is the supermarket plus apartment ring combo, because it reaches profitability faster than any other layout and stays profitable all the way through the late game. According to community data, a single supermarket fed by a six-tile apartment block reaches its peak profit margin within three to four in-game days, which makes it the safest early-to-mid-game investment you can make.
The second-best farming spot is the mall, but only once you have already built a stable base. A mall on its own will bleed money because it requires six workers and a connected road network, but a mall sitting on top of a fully developed commercial core can produce more net income than three supermarkets combined, because the surrounding infrastructure absorbs almost all of its operating overhead. The third spot worth knowing is the office tower in a hybrid ring, which produces slightly less gross income than a supermarket but is far cheaper to maintain and barely dents happiness, making it the best choice for players who are still stabilizing their service budget.
A more advanced farming pattern that experienced players have been testing is the "stacked core," where two commercial cores share a single service hub. This is risky because the hub has to handle double the happiness load, but when it works the profit margins can climb into territory that single-core cities never reach. If you want to see how this kind of stacked layout fits into a wider campaign plan, the team strategy and war economy guide covers how coordinated players split commercial and military spending across a shared map.
Farming Spot Tier List
| Tier | Farming Spot | Phase | Setup Time | Stability |
|---|---|---|---|---|
| 1 | Supermarket + Apartment Ring | Early to late | 2–3 days | Very high |
| 1 | Mall inside a mature core | Mid to late | 4–5 days | High |
| 2 | Office in a hybrid ring | Mid to late | 3–4 days | High |
| 2 | Commerce spine with 6+ shops | Early to mid | 1–2 days | Medium |
| 3 | Stacked cores with shared services | Late only | 6+ days | Volatile |
| 3 | Scattered luxury stores | Late only | 5+ days | Volatile |
The lesson from this tier list is that early-game farming should always prioritize stability over raw output, because a stable spot will compound its profits across many cycles while a volatile spot might pay off big once and then collapse under its own upkeep.
Avoiding the Common Profit Margin Traps
Even players who understand the income and spending sides of the economy can still fall into a few recurring traps that quietly erode their profit margins. The first is what community testers call "happiness debt," which happens when you expand commercial tiles faster than you expand services, so the city's happiness slowly drains over several days without you noticing. By the time the happiness meter drops below 60 percent, every commercial tile is producing 20 to 30 percent less than its gross rating suggests, and the only way out is to halt expansion and rebuild the service network.
The second trap is the road bottleneck. A commercial core that looks fine on the layout screen can still grind to a halt if a single key road tile gets blocked by a building placed in the wrong spot, because workers cannot reach their jobs efficiently. Community testing showed that even a one-tile bottleneck can cut effective output by 15 percent, and the fix is usually to add a second connecting road rather than to delete and rebuild.
The third trap is over-reliance on a single income type. Cities that lean entirely on supermarkets can see their margins collapse if the developer adjusts commercial balance in a future patch, while cities that mix shops, offices, and supermarkets tend to absorb balance changes much more gracefully. The final trap is ignoring the worker morale mechanic, which quietly cuts productivity when workers are overworked or underpaid; raising wages by even 10 percent during a tough stretch can keep the entire commercial core running at full output.
A practical way to catch these traps early is to check your net margin per tile once per in-game day, and if it drops more than 10 percent week over week, run a quick audit of happiness, roads, and worker morale in that order. For a broader look at how cash flow ties into long-term growth, the how to get money and passive income guide lays out the passive income side of the same economy.
Trap Severity Reference
| Trap | Symptom | Detection Method | Fix Speed |
|---|---|---|---|
| Happiness Debt | Slow income drop over days | Watch happiness meter | Slow (2–3 days) |
| Road Bottleneck | Localized productivity drop | Hover individual tiles | Fast (hours) |
| Single-Income Reliance | Sharp margin drop on patch | Read patch notes | Medium (1 day) |
| Worker Morale Drain | Output drop despite full staffing | Check wage vs. baseline | Fast (same cycle) |
Closing out the dense city commerce picture, the cleanest path to strong profit margins is to build a tight commercial core, layer in services and housing at a matched pace, and keep a small emergency buffer so a single bad cycle does not cascade into a full collapse. The numbers above are community-reported from the V0.1 beta and may shift with future patches, but the underlying structure of income, services, wages, and military upkeep is the framework that keeps a city profitable no matter what the developer tunes next.
Frequently Asked Questions
What is the fastest way to raise profit margins in the early game?
Build a single supermarket backed by a tight apartment ring of four to six housing tiles, and keep a clinic or park within two tiles of the commercial core. Community testing in the V0.1 beta showed this combo reaches a healthy net margin within three in-game days, faster than any other layout, and it scales smoothly as you add more housing.
How much of my income should go to military upkeep?
Keep war spending between 25 and 30 percent of your gross daily income during peacetime, and never let it cross 35 percent unless you are actively pushing an offensive. Above that line, service upkeep starts to starve, happiness drops, and the commercial core begins to lose margin long before you notice the budget warning.
Do malls really outperform supermarkets in the late game?
Yes, but only when the mall is sitting inside a fully developed commercial core with stable roads and a service network already in place. A standalone mall costs more to run than it earns until the surrounding infrastructure absorbs most of its operating overhead, which usually takes four or five in-game days after construction.
Can I run a profitable city without using luxury stores?
Absolutely. A mix of shops, supermarkets, and offices inside a dense core will outperform a luxury-store-heavy layout for most of the game, because luxury stores demand 90 percent happiness to stay profitable and that floor is hard to maintain during raids. Save luxury stores for the late game when your service network is already oversized.
How often do the profit numbers change between patches?
Numbers from the V0.1 beta are the only verified data set right now, and the developer has signaled that commercial balance will be revisited in upcoming patches. Treat every number in this guide as community-reported and recheck after each major update, because the gap between a profitable layout and a losing one can close in a single patch.