
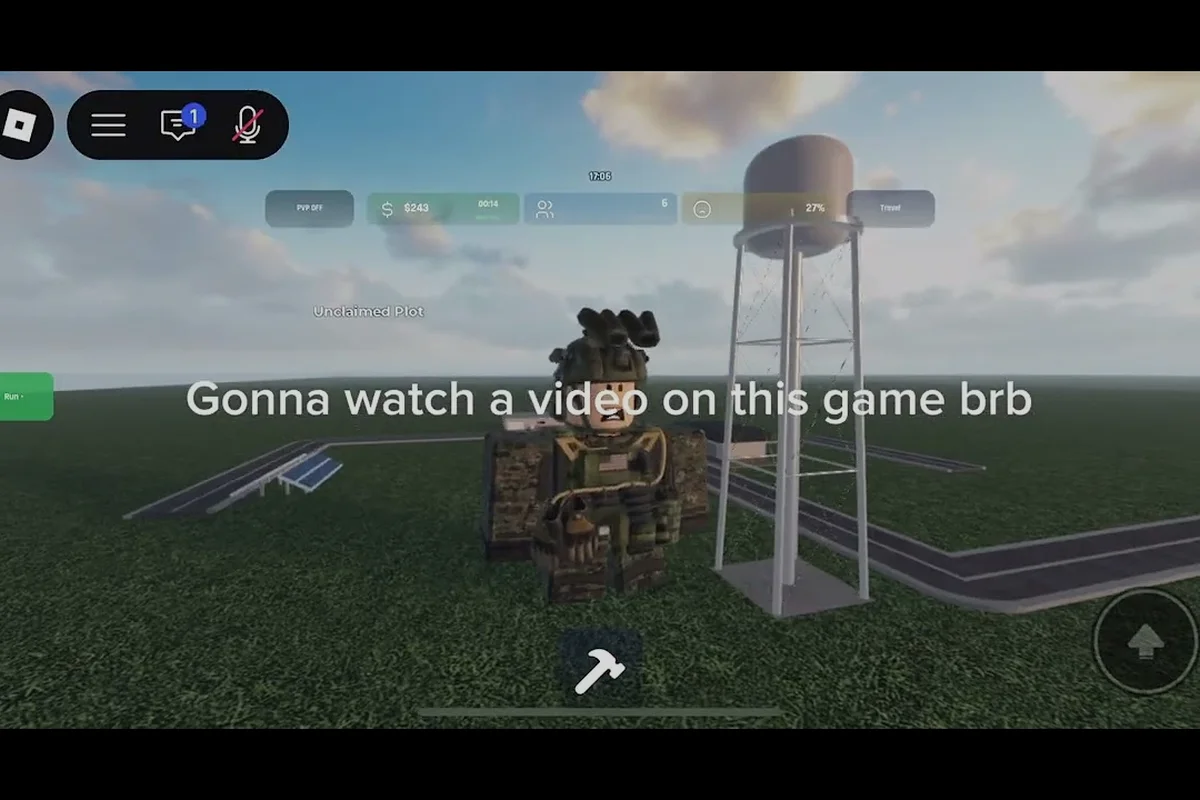
Coordinating a Build and Conquer team strategy separates squads that hold territory from those that collapse under pressure. In the V0.1 beta, up to eight players share a server, and the difference between a coordinated push and scattered skirmishing shows up within minutes. This guide breaks down verified mechanics, community-tested frontline setups, and the economic backbone that keeps your war machine running. If you are holding territory rather than raiding, defensive positioning becomes its own form of offense, so pair these frontline setups with the placement logic in our Build And Conquer City Defense Layout to stop counter-pushes before they reach your economic core.
Core Team Coordination Framework
A winning Build and Conquer team strategy starts before the first unit leaves your base. The official Roblox page lists the developer as The Slop Company, with servers capped at eight players, which means every teammate carries outsized responsibility. You cannot afford a passive builder or a reckless rusher when the enemy team is stacking air defense and scouting your movements.
The verified briefing from community playtests highlights three opening steps that anchor any coordinated effort. First, stack air defense using Sea RAM, Iron Dome, and RA3 interceptors before committing ground forces. Second, scout with cheap units or HIMARS to reveal enemy positions without sacrificing your main push. Third, move troops through tunnels to reach the mainland quickly, bypassing predictable chokepoints. These steps matter because early positioning determines whether your team dictates the tempo or spends the match reacting.
| Team Role | Primary Duty | Key Units | Common Mistake |
|---|---|---|---|
| Air Defense Anchor | Maintain Sea RAM and Iron Dome coverage | Sea RAM, Iron Dome, RA3 interceptors | Building only one layer of defense |
| Scout | Reveal enemy positions with cheap units | Cheap infantry, HIMARS | Committing main force before scouting |
| Tunnel Runner | Move troops through tunnels to mainland | Infantry, light vehicles | Using surface routes into ambushes |
| Economy Lead | Balance production and income | Production buildings, trade routes | Overbuilding military without income |
Community reports note that air-defense caps such as Sea RAM limited to six per base are single-creator observations, not confirmed developer values. Treat that number as a planning guideline rather than a hard rule, and verify against your own matches. The beta changed often in October 2026, so any numeric claim outside the verified list deserves skepticism.
Assigning Roles Before Deployment
Role clarity prevents the most common team failure: two players building the same defensive layer while nobody scouts. A practical assignment flow looks like this:
-
Minute 0-2: Economy Lead starts production buildings; Scout sends one cheap unit toward the center; Air Defense Anchor places the first Sea RAM.
-
Minute 2-4: Tunnel Runner moves troops through tunnels; Scout reports enemy composition; Economy Lead shifts income toward military.
-
Minute 4+: Team commits to a coordinated push only after air defense covers the approach and the Scout confirms enemy anti-air gaps.
This sequencing works because each role feeds the next. Without scouting, your push walks into an Iron Dome wall. Without air defense, enemy HIMARS picks off your tunnel runners before they reach the mainland.
Frontline Strategy and Defense Layering
A strong Build and Conquer frontline strategy treats defense as an active system, not a static wall. The verified briefing emphasizes striking while the enemy lacks anti-air or anti-missile cover, which means your frontline must create those windows. Holding captured ground with bunkers and continuous production turns a successful push into permanent map control.
The frontline strategy that wins team wars layers three elements: air defense at the rear, bunkers at the capture point, and production buildings feeding reinforcements continuously. When one layer fails, the other two buy time for recovery. Teams that build only bunkers lose them to missile fire; teams that build only air defense lose ground to infantry swarms.
| Defense Layer | Purpose | Weakness | Counterplay |
|---|---|---|---|
| Sea RAM | Intercept incoming missiles | Limited to six per base (community-reported) | Overwhelm with multiple missile angles |
| Iron Dome | Area air defense coverage | High cost, vulnerable to ground push | Send infantry before air units |
| Bunkers | Hold captured ground | Static, cannot retreat | Flank with tunnel runners |
| Continuous Production | Replace losses instantly | Drains economy if overbuilt | Target production buildings first |
The interplay between these layers defines a mature Build and Conquer frontline strategy. A team that stacks Sea RAM and Iron Dome but neglects bunkers will repel missiles yet lose every ground engagement. A team that spams bunkers without air cover watches those bunkers get deleted by HIMARS strikes.
Reading Enemy Anti-Air Gaps
Striking while the enemy lacks anti-air or anti-missile cover is the single highest-value timing window in team play. Your Scout should report two things before every push: whether enemy Sea RAM is on cooldown or repositioning, and whether Iron Dome coverage has any blind spots near the flanks. When both conditions align, commit the main force immediately.
Community footage from the V0.1 beta shows that successful teams hold fire until the enemy overextends their air defense to cover one side, then push the opposite flank through tunnels. This forces the enemy to either split their defense or abandon one objective. The team that hesitates loses the window because a competent opponent rebuilds air cover within a minute.
War Economy Balance for Sustained Pressure
A Build and Conquer war economy balance is the invisible engine behind every successful siege. You can have the best frontline tactics in the server, but if your production stalls after the first wave, the enemy outlasts you. The verified briefing does not provide exact income numbers, so treat all economic figures as community-reported and subject to beta changes.
The core principle is simple: military spending must not outpace income, and income must not sit idle while the enemy builds momentum. Teams that overbuild military early find themselves unable to replace losses mid-fight. Teams that hoard income lose map control before their economy matures.
| Economic Phase | Priority | Common Mistake | Recovery Move |
|---|---|---|---|
| Early (0-4 min) | Production buildings, first air defense | Building too many military units | Sell excess military, build income |
| Mid (4-10 min) | Balanced military and income | Ignoring enemy economy lead | Target enemy production buildings |
| Late (10+ min) | Continuous reinforcement | Running out of production capacity | Build secondary production near frontline |
A balanced Build and Conquer war economy balance also means protecting your income sources. Enemy scouts will target production buildings first because destroying them cripples your reinforcement loop. Place production behind your air defense umbrella, and consider building a secondary production cluster near captured ground to shorten reinforcement travel time.
Production Timing and Reinforcement Loops
Continuous production is the difference between holding a point and losing it to attrition. When your frontline takes losses, reinforcements must arrive before the enemy consolidates. This requires production buildings placed close enough to the front that units reach the fight quickly, but far enough back that a single enemy push cannot destroy them.
Players report that the most reliable reinforcement loop uses tunnels to move fresh units from rear production to the mainland. This keeps the surface route clear for your main force and hides your reinforcement count from enemy scouts. A team that telegraphs its production rate gives the enemy free intel on when to push.
City Siege Tactics and Endgame Execution
A Build and Conquer city siege tactics plan turns a map advantage into a match win. Sieges fail when teams rush the city center without first neutralizing air defense and cutting reinforcement routes. The verified briefing's step order applies here: stack your own air defense, scout the city perimeter, then move troops through tunnels to reach the mainland quickly.
The endgame strategy that closes out matches combines three moves. First, strike while the enemy lacks anti-air or anti-missile cover, which usually happens after a failed enemy push leaves their defense depleted. Second, hold captured ground with bunkers and continuous production so the enemy cannot reclaim territory. Third, push the final objective only after your Scout confirms the enemy has no hidden reserve force.
| Siege Phase | Objective | Key Action | Failure Signal |
|---|---|---|---|
| Perimeter | Reveal enemy defense layout | Scout with cheap units | Losing scout without intel |
| Breakthrough | Open a gap in air defense | Coordinated missile + ground push | Push stalls at first bunker |
| Hold | Secure captured ground | Bunkers + continuous production | Enemy reclaims point within a minute |
| Finish | Destroy final objective | Commit main force | Enemy reveals hidden reserve |
The official Build and Conquer page on Roblox confirms the game launched on 2026-08-23 and remains in V0.1 beta, which means endgame balance is still evolving. Treat any endgame tier list or unit ranking as provisional, and verify against your own matches before committing to a specific composition.
1v1 Strategy Adaptations
A Build and Conquer 1v1 strategy strips away team coordination and forces you to handle every role alone. The same principles apply, but your execution window shrinks dramatically. You must scout, build air defense, manage economy, and push all by yourself, which means efficiency matters more than raw firepower.
In 1v1 matches, the 1v1 strategy that wins consistently prioritizes early scouting over early aggression. Send a cheap unit to reveal the enemy's opening build before you commit to a tech path. If the enemy rushes air defense, build ground units and push through tunnels. If the enemy rushes ground, stack Sea RAM and Iron Dome to punish their aggression. The player who reacts correctly to the first scout report wins most duels.
Frequently Asked Questions
What is the best opening move for a Build and Conquer team strategy?
Stack air defense first using Sea RAM, Iron Dome, and RA3 interceptors, then scout with cheap units or HIMARS before committing your main force. This opening prevents early missile losses and reveals enemy positioning, which lets your team dictate the tempo instead of reacting to pressure.
How do I balance war economy and military spending?
Keep military spending slightly below your income rate so you can replace losses mid-fight, but never let income sit idle while the enemy builds momentum. Place production buildings behind air defense and build a secondary production cluster near captured ground to shorten reinforcement travel time.
When should my team push in a city siege?
Push when the enemy lacks anti-air or anti-missile cover, which usually happens after a failed enemy attack depletes their defense. Scout the perimeter first, then commit your main force through tunnels while holding captured ground with bunkers and continuous production.
What is the most common team coordination mistake?
Two players building the same defensive layer while nobody scouts is the most common failure. Assign clear roles before deployment: one player handles air defense, one scouts, one runs tunnels, and one manages economy. Each role feeds the next, so a missing scout means your push walks into an Iron Dome wall.
How does 1v1 strategy differ from team play?
In 1v1, you handle every role alone, so efficiency matters more than raw firepower. Prioritize early scouting over early aggression, then react to the enemy's opening build: rush ground units if they build air defense, or stack Sea RAM and Iron Dome if they rush ground.