
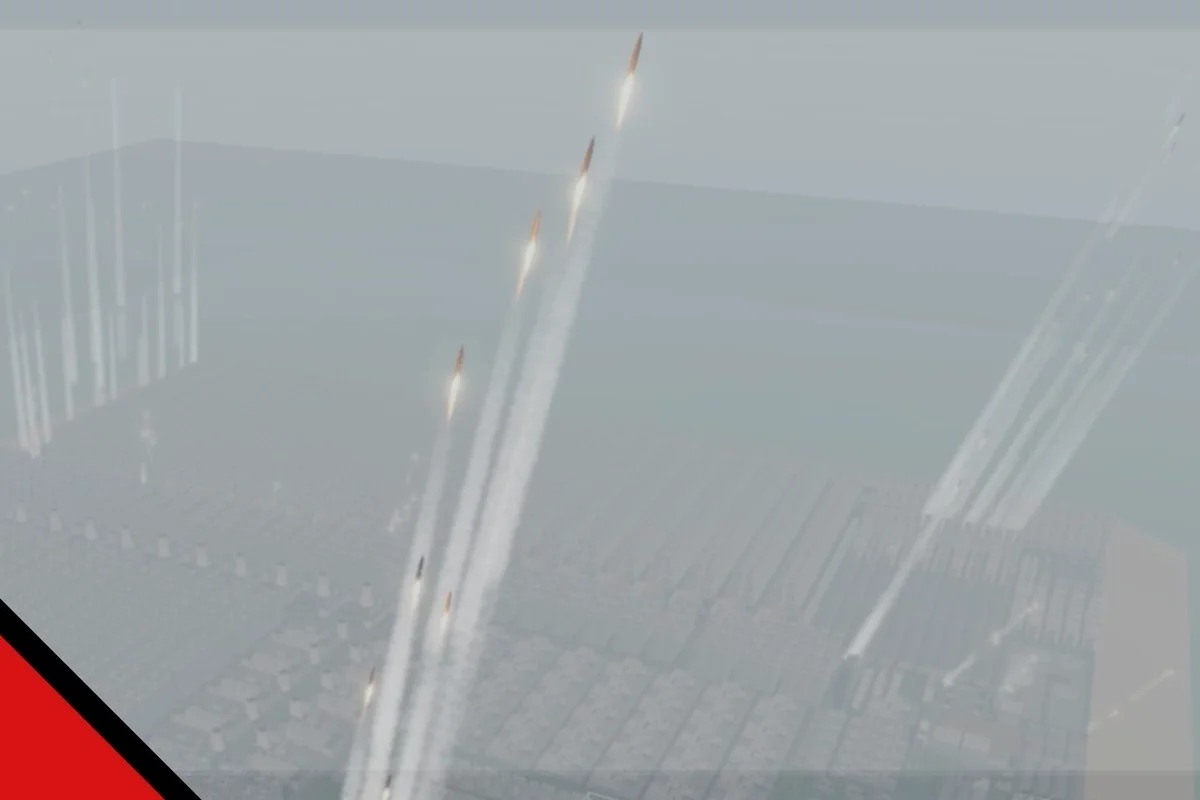
A weak anti air placement strategy in Build and Conquer turns a strong base into a bombing range. Enemy aircraft exploit gaps in your coverage, destroy production buildings, and collapse your economy before ground units ever reach your walls. This guide breaks down the exact positioning tactics, bunker combinations, and coverage zones that keep bombers and drones out of your territory during the V0.1 beta.
Understanding Anti Air Coverage Zones
Effective air defense in Build and Conquer starts with understanding how coverage zones actually work. Each anti-air structure projects a circular interception radius, but the real value comes from overlapping those circles. When two or more defensive emplacements share coverage, enemy aircraft face layered fire that dramatically increases kill probability before they can drop payloads.
The most common mistake new players make is placing anti-air structures directly on the front line. Aircraft attack from above, which means they ignore terrain obstacles and walls that block ground units. A Sea RAM battery sitting behind your main wall still intercepts bombers flying toward your command center, because its coverage extends vertically and horizontally across the entire radius.
Community data from the V0.1 beta indicates that Sea RAM emplacements are capped at six per base, according to single-creator reports that remain unverified across the wider player base. This cap forces you to think carefully about placement rather than spamming defenses everywhere. Each slot needs to cover the maximum possible area while overlapping with at least one other anti-air structure.
| Coverage Pattern | Structures Required | Effective Against | Weakness |
|---|---|---|---|
| Single Layer | 2-3 AA units | Early drone rushes | Overwhelmed by bomber waves |
| Double Overlap | 4-5 AA units | Mid-game air raids | Gaps at map edges |
| Full Perimeter | 6+ AA units | Sustained air assault | High resource investment |
The Iron Dome system adds another layer to your defensive network by intercepting incoming missiles before they reach critical infrastructure. While Sea RAM handles aircraft directly, Iron Dome focuses on projectile interception, creating a two-tier defense that forces attackers to commit more resources to any single strike.
Bunker Strategy for Anti Air Support
Your build and conquer bunker strategy directly influences how effective your air defense becomes. Bunkers provide protected positions for ground-based anti-air units, keeping them alive longer during extended engagements. A bunker placed near your Sea RAM batteries creates a defensive cluster that punishes any aircraft attempting to eliminate your air defense first.
The standard approach involves placing bunkers at map chokepoints where enemy aircraft must fly over to reach your base interior. Since aircraft follow predictable approach vectors toward high-value targets, bunkers positioned along those vectors catch them mid-flight. This works especially well on maps with narrow corridors or mountain passes that funnel air traffic into kill zones.
| Bunker Position | Air Defense Synergy | Best Map Type |
|---|---|---|
| Behind main wall | Protects AA from ground raids | Open terrain maps |
| Flanking resource nodes | Covers economic targets | Resource-heavy maps |
| Near command center | Last-line interception | All map types |
| Elevated terrain | Extended coverage radius | Mountain maps |
According to community reports from the V0.1 beta, the most successful defensive players stack Sea RAM, Iron Dome, and RA3 interceptors together in overlapping fields. This combination creates what players call a "no-fly zone" that forces opponents to either invest heavily in air superiority or abandon air attacks entirely in favor of ground pushes.
Air Raid Survival Tactics
Surviving a build and conquer air raid requires more than just placing defenses and hoping they hold. Active response matters just as much as static emplacements. When the air raid siren sounds, your first move should be checking which vector the enemy aircraft are approaching from, then repositioning mobile anti-air units to intercept before they reach drop points.
The verified briefing for the V0.1 beta outlines a clear sequence for responding to air threats. First, scout with cheap units or HIMARS before committing your main defensive force. This reveals enemy composition and lets you counter appropriately. Second, move troops through tunnels to reach the mainland quickly when responding to raids on distant sectors. Third, strike while the enemy lacks anti-air or anti-missile cover, punishing overextended aircraft with your own counter-attacks.
| Raid Phase | Defensive Response | Key Unit |
|---|---|---|
| Detection | Scout with HIMARS | HIMARS launcher |
| Approach | Reposition AA units | Mobile interceptor |
| Engagement | Focus fire on bombers | Sea RAM battery |
| Cleanup | Repair damaged defenses | Engineer unit |
Your build and conquer defensive pvp build needs to account for the fact that smart opponents will target your air defense first. They send in cheap drones to reveal your AA positions, then follow up with bombers or artillery to eliminate those positions before the main strike. Countering this requires keeping some anti-air capability hidden or mobile until the real attack begins.
Aggressive Build Order for Air Superiority
While defense wins wars, a strong build and conquer aggressive build order can deny the enemy air power entirely. The logic is simple: if you destroy their airfields and production buildings early, they never get the chance to launch meaningful air raids against your base. This proactive approach works especially well in the V0.1 beta where many players neglect early air defense.
The aggressive opening involves rushing HIMARS units early, using their range to harass enemy production from a safe distance. While your HIMARS keep pressure on their economy, you build up your own air force and prepare for a decisive strike. The key timing window comes when the enemy has committed resources to ground units but hasn't yet built adequate anti-air coverage.
| Build Order Step | Timing | Purpose |
|---|---|---|
| Early HIMARS rush | First 5 minutes | Harass enemy economy |
| Tunnel network | Minutes 5-8 | Fast troop movement |
| Air force buildup | Minutes 8-12 | Prepare decisive strike |
| Coordinated assault | Minutes 12-15 | Destroy enemy AA, then bomb |
The verified briefing emphasizes that you should strike while the enemy lacks anti-air or anti-missile cover. This means watching for the moment when your opponent spends resources on ground units or economy buildings instead of air defense. That gap creates the opening for a devastating air assault that can end the game before they recover.
Integrating Defense with Your War Plan
A complete build and conquer war guide for beginners must connect air defense to the broader strategic picture. Anti-air placement doesn't exist in isolation, it works alongside ground defenses, economic buildings, and your offensive capabilities. The best players treat air defense as one component of an integrated war machine rather than a standalone system.
Your Build and Conquer city defense layout needs to account for how air and ground threats interact. Enemy players often use air raids to soften up your defenses before a ground push, or vice versa. A base that defends well against one threat type but ignores the other will fall quickly against a coordinated opponent who exploits that weakness.
The tunnel network mentioned in the verified briefing plays a critical role in defensive flexibility. Tunnels let you move ground-based anti-air units quickly between sectors, responding to threats wherever they appear. This mobility compensates for the fact that static defenses can't be everywhere at once, especially on larger maps with multiple approach vectors.
| Defense Layer | Primary Role | Integration Point |
|---|---|---|
| Sea RAM batteries | Aircraft interception | Overlapping coverage zones |
| Iron Dome | Missile interception | Near high-value targets |
| Bunkers | Protected AA positions | Chokepoints and vectors |
| Tunnel network | Rapid response | Between defensive sectors |
When planning your build and conquer defensive pvp build, consider how your opponent thinks. Most players scout for weak points before committing to an attack. If your air defense looks impenetrable from one angle but has an obvious gap on another, expect the attack to come through that gap. Regular self-scouting helps you identify and close these vulnerabilities before they're exploited.
Frequently Asked Questions
How many Sea RAM batteries can I build in one base?
Community reports from the V0.1 beta suggest a cap of six Sea RAM batteries per base, though this comes from single-creator sources and remains unverified across the wider player base. Treat this number as a working guideline rather than confirmed game data, and test it yourself in your own matches.
What is the best anti-air combination for early game defense?
Stack Sea RAM with Iron Dome for a two-tier defense that handles both aircraft and missiles. Add RA3 interceptors once you have the resources, creating a layered network that forces enemy air units to survive multiple interception attempts before reaching their targets.
Should I place anti-air defenses on the front line?
No, keep anti-air structures behind your main walls where ground units can't easily reach them. Aircraft ignore walls and terrain, so your Sea RAM batteries still intercept bombers from protected positions. Front-line placement exposes your air defense to ground raids that can eliminate it before air attacks begin.
How do I counter enemies who target my air defense first?
Keep some anti-air capability mobile or hidden until the real attack begins. Use tunnels to reposition ground-based interceptors quickly, and consider holding back a Sea RAM battery or two until you've confirmed the enemy's main attack vector. This prevents opponents from eliminating your entire air defense with a single coordinated strike.
When should I switch from defensive to aggressive air strategy?
Switch to an aggressive build order when you notice the enemy has neglected anti-air coverage. The verified briefing recommends striking while the enemy lacks anti-air or anti-missile cover, which typically happens when they overinvest in ground units or economy buildings during the early and mid-game phases.