
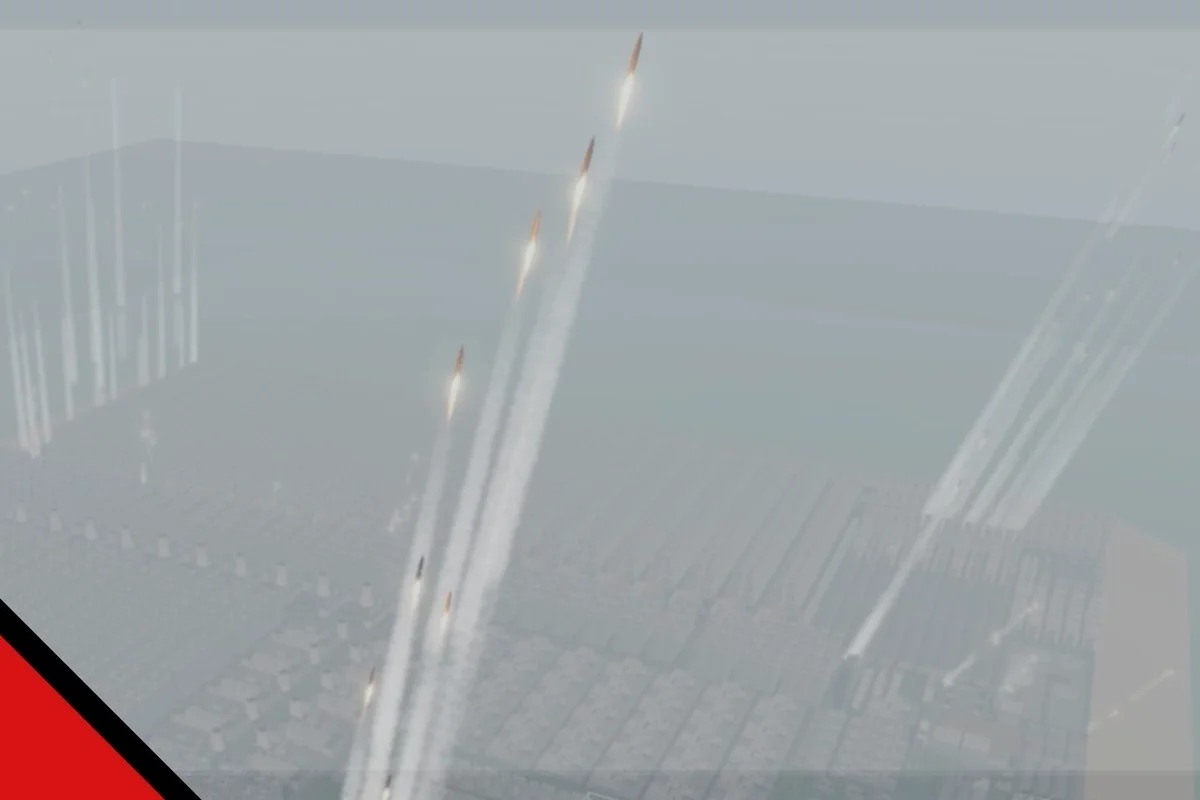
A weak city defense layout in Build and Conquer turns a promising nation into a free loot drop for every rival on the server. The V0.1 beta punishes players who scatter buildings randomly, because coordinated attackers exploit gaps in anti-air coverage and bunker placement within minutes. This guide breaks down a layered defense approach that keeps your production running while enemy strikes bounce off hardened positions.
Core Principles of a Strong City Defense Layout
Every effective Build and Conquer city defense layout starts with understanding how attackers actually approach your base. In the V0.1 beta, most invasions follow a predictable pattern: cheap scout units probe your perimeter, HIMARS strikes soften fixed defenses, then the main force pushes through the weakest corridor. Your layout must answer each of these phases before they happen.
The first principle is layered deterrence. You want attackers to pay for every meter of ground they take, which means placing cheap early-warning structures in front of expensive core defenses. A common mistake is clustering all bunkers around the command center, which lets enemies shell your outer ring with impunity. Instead, spread bunker rings outward so that each ring forces the attacker to commit resources before reaching the next layer.
The second principle is coverage overlap. No single defense type handles every threat. Sea RAM intercepts missiles, Iron Dome catches artillery, and RA3 interceptors deal with aircraft, but each system has blind spots and limited range. Your layout should position these systems so their coverage circles overlap, creating zones where attackers face multiple response layers simultaneously.
| Defense Layer | Primary Threat | Placement Priority | Coverage Pattern |
|---|---|---|---|
| Outer bunker ring | Ground scouts and light vehicles | Perimeter, spaced 2-3 tiles apart | Wide arc facing likely approach routes |
| Mid-layer anti-air | Aircraft and drones | Elevated positions behind bunkers | Overlapping circles with no gaps |
| Core missile defense | HIMARS and strategic missiles | Near production buildings | Tight cluster around high-value targets |
| Emergency reserve | Counterattack units | Hidden in tunnels or rear positions | Rapid response to breakthroughs |
The third principle is production continuity. A defense layout that protects your buildings but chokes your unit output is a losing design. Keep factories and barracks connected to the front via short, covered paths so reinforcements reach the fight without crossing exposed ground. Community reports from October 2026 emphasize that bases with tunnel-connected production survive significantly longer than sprawling layouts with long supply lines.
Bunker Placement and Ring Construction
Bunkers form the skeleton of any serious Build and Conquer city defense layout. They are cheap, durable, and force attackers to either destroy them or suffer constant fire while maneuvering. The key is not just placing bunkers, but arranging them into rings that channel enemy movement into kill zones.
Start with the outer ring at the edge of your buildable area. Space bunkers two to three tiles apart, which is close enough to create overlapping fields of fire but far enough that a single missile strike cannot destroy two bunkers at once. This spacing rule comes from community testing in the V0.1 beta, where players found that tightly packed bunkers died to splash damage before they could fire a second volley.
The inner ring should sit roughly halfway between the outer ring and your command center. These bunkers protect your production buildings and serve as a fallback line when the outer ring collapses. Angle them slightly inward so they can fire on enemies that breach the first layer, rather than facing outward where their fire is blocked by the outer ring's wreckage.
| Bunker Ring | Distance from Center | Spacing Between Bunkers | Primary Function |
|---|---|---|---|
| Outer ring | Maximum build radius | 2-3 tiles | Delay and bleed the first wave |
| Mid ring | 50-60% of build radius | 2 tiles | Cover production buildings |
| Inner ring | 25-30% of build radius | 1-2 tiles | Last-stand defense around command center |
A critical detail is bunker orientation. Bunkers in Build and Conquer have directional fire arcs, so a bunker facing the wrong way contributes nothing to your defense. When placing each bunker, rotate it to face the most likely approach vector. On maps with multiple entry points, alternate bunker facing so that no angle remains uncovered.
The tunnel connection between rings is what separates good layouts from great ones. Verified briefing data confirms that moving troops through tunnels lets you reach the mainland quickly without exposing units to surface fire. Connect each bunker ring to the next with at least two tunnel entrances, so that a single destroyed tunnel does not isolate an entire defensive layer.
Air Defense Strategy and Missile Countermeasures
Air superiority decides most Build and Conquer server wars, which makes your air defense strategy the highest-stakes part of any city defense layout. The V0.1 beta offers three core anti-air systems: Sea RAM, Iron Dome, and RA3 interceptors. Each handles a different threat profile, and stacking them correctly is the difference between a base that shrugs off missile spam and one that crumbles under the first coordinated strike.
Sea RAM is your primary defense against incoming missiles. Community reports indicate that Sea RAM is limited to six per base in the current beta, which means every placement matters. Spread them across your layout rather than clustering them, because a single artillery barrage can knock out multiple Sea RAM units if they sit too close together. Position each Sea RAM where its interception range covers at least two high-value buildings.
Iron Dome complements Sea RAM by catching artillery shells and slower projectiles that slip through the first interception layer. Place Iron Dome units behind your bunker rings, where they are protected from direct ground fire but still have line of sight to incoming ordnance. The overlap zone between Sea RAM and Iron Dome coverage is where your command center and production buildings should sit.
| Air Defense System | Threat Handled | Max Count (V0.1 beta) | Best Placement |
|---|---|---|---|
| Sea RAM | Fast missiles and rockets | 6 per base | Spread across layout, covering high-value targets |
| Iron Dome | Artillery and slow projectiles | Community-reported cap | Behind bunker rings, overlapping Sea RAM |
| RA3 interceptors | Aircraft and drones | No confirmed cap | Elevated positions with wide sight lines |
Learning how to counter missiles effectively requires understanding interception priority. When multiple missiles arrive simultaneously, your air defense systems engage the closest threat first. Attackers exploit this by launching cheap decoy missiles ahead of their real strike, draining your interceptors before the heavy ordnance arrives. Counter this by placing a few low-cost anti-air turrets on your perimeter specifically to absorb decoy fire, preserving your Sea RAM for genuine threats.
The missile spot concept is equally important. Designate specific tiles in your layout as bait positions, where you place low-value structures that attackers will target with their opening missile volley. When those missiles get intercepted, the attacker wastes their alpha strike on nothing while your real defenses remain intact. This bait-and-intercept pattern is one of the most effective build and conquer air defense strategy techniques reported by veteran players.
Invasion Tactics and Counterattack Planning
Defending your city is only half the equation. The best Build and Conquer city defense layout includes built-in counterattack infrastructure that lets you punish failed invasions immediately. When an enemy commits their main force to your walls and gets repelled, they are vulnerable to a rapid counterstrike that can flip the momentum of an entire server war.
Your counterattack reserve should sit in tunnel-connected positions behind your inner ring. These units stay hidden until the enemy overcommits, then emerge through tunnel exits on the flanks of the attacking force. Verified briefing data confirms that striking while the enemy lacks anti-air or anti-missile cover is the highest-percentage counterattack timing, because their support systems are either destroyed or still repositioning after the failed assault.
The scout-first doctrine applies to your own counterattacks as much as to enemy invasions. Before committing your reserve force, send cheap units or a HIMARS strike to probe the enemy's retreat path. If they have no anti-air coverage on their withdrawal route, your counterattack can pursue aggressively. If they do, hold your reserve and let them retreat into their own defenses rather than feeding units into a prepared kill zone.
| Counterattack Phase | Action | Timing Window | Risk Level |
|---|---|---|---|
| Probe | Send cheap scouts or HIMARS | Immediately after repelling assault | Low |
| Commit | Deploy reserve through tunnels | When enemy lacks anti-air cover | Medium |
| Pursue | Chase retreating units | Only if enemy AA is destroyed | High |
| Consolidate | Hold captured ground with bunkers | After enemy force is broken | Low |
Holding captured ground is where many counterattacks stall. After your reserve force breaks the enemy's retreat, you need to immediately place bunkers and start continuous production on the newly captured territory. This converts a temporary tactical victory into a permanent strategic gain, which is the foundation of any successful build and conquer nation strategy.
The invasion tactics you face will evolve as the server meta develops. Early in a server's life, attackers rely on massed ground units and basic missiles. As players unlock more advanced tech, expect coordinated multi-vector assaults that hit your air defense from one direction while ground forces push from another. Your layout must include redundant defense paths so that losing one sector does not collapse your entire network.
Server War Tips and Nation Strategy
Build and Conquer server wars are won by nations that treat defense as a collective effort rather than an individual base problem. Your city defense layout exists within a larger strategic picture, and the strongest layouts are designed to complement allied bases rather than operate in isolation.
Shared defense zones are the most underutilized tool in server wars. When two allied bases sit close together, their air defense coverage can overlap to create a zone where enemy aircraft and missiles face double interception. Coordinate with your allies to position Sea RAM and Iron Dome units along your shared border, maximizing the value of every defensive structure. This approach is especially powerful on maps with narrow corridors between base locations.
The nation strategy layer also involves deciding which bases specialize in what role. Not every city needs to be a fortress. Some bases should focus on production, protected by the defensive umbrella of nearby allied cities. Others should serve as forward operating bases, positioned to launch counterattacks while the fortress cities absorb enemy pressure. This division of labor lets your nation field more total military power than if every base tried to do everything.
| Base Role | Primary Function | Defense Priority | Production Focus |
|---|---|---|---|
| Fortress city | Absorb attacks and anchor the front | Maximum: all defense layers | Minimal: just enough to sustain defense |
| Production hub | Generate units and resources | Medium: rely on allied umbrella | Maximum: continuous unit output |
| Forward base | Launch counterattacks and raids | Low: mobility over durability | Medium: strike units and scouts |
Communication timing is a server war tip that many nations overlook. When you spot an enemy invasion force massing near your border, the speed at which you alert allies determines whether they can reposition their air defense to support you. Establish a simple signal system before the war starts, so that a single ping tells your nation exactly which sector is threatened and what support you need.
The tunnel network between allied bases is another force multiplier. Verified briefing data confirms that tunnels let troops move quickly to the mainland, which means a nation with interconnected tunnel systems can shift reinforcements to any threatened point faster than the attacker can exploit a breakthrough. Invest in tunnel infrastructure early, because building it under fire is nearly impossible.
For a deeper look at how these defensive principles fit into broader military planning, the Build and Conquer strategy guide covers war-winning fundamentals that complement this layout-focused breakdown.
Frequently Asked Questions
What is the best Build and Conquer city defense layout for beginners?
Start with two bunker rings around your command center, spaced two to three tiles apart, then add Sea RAM units covering your production buildings. This simple layered approach stops most early-game raids while you learn the map's approach vectors and refine your placement.
How do I counter missile spam in Build and Conquer?
Stack Sea RAM with Iron Dome to create overlapping interception zones, and place low-cost anti-air turrets on your perimeter to absorb decoy missiles. This preserves your Sea RAM for genuine threats while the Iron Dome catches slower artillery shells that slip through.
What is the best counterattack timing after repelling an invasion?
Strike while the enemy lacks anti-air or anti-missile cover, which typically happens immediately after their assault fails. Their support systems are either destroyed or still repositioning, giving your tunnel-deployed reserve force a narrow window to pursue and break their retreat.
Should I specialize my base role in a nation strategy?
Yes. Fortress cities should maximize defense layers and absorb attacks, while production hubs focus on continuous unit output under allied air defense umbrellas. This division of labor lets your nation field more total military power than if every base tried to defend itself independently.
How do tunnels improve my city defense layout?
Tunnels let you move reinforcements between bunker rings and reach the mainland without exposing units to surface fire. Connect each defensive layer with at least two tunnel entrances so that a single destroyed tunnel does not isolate an entire ring from your reserve forces.