
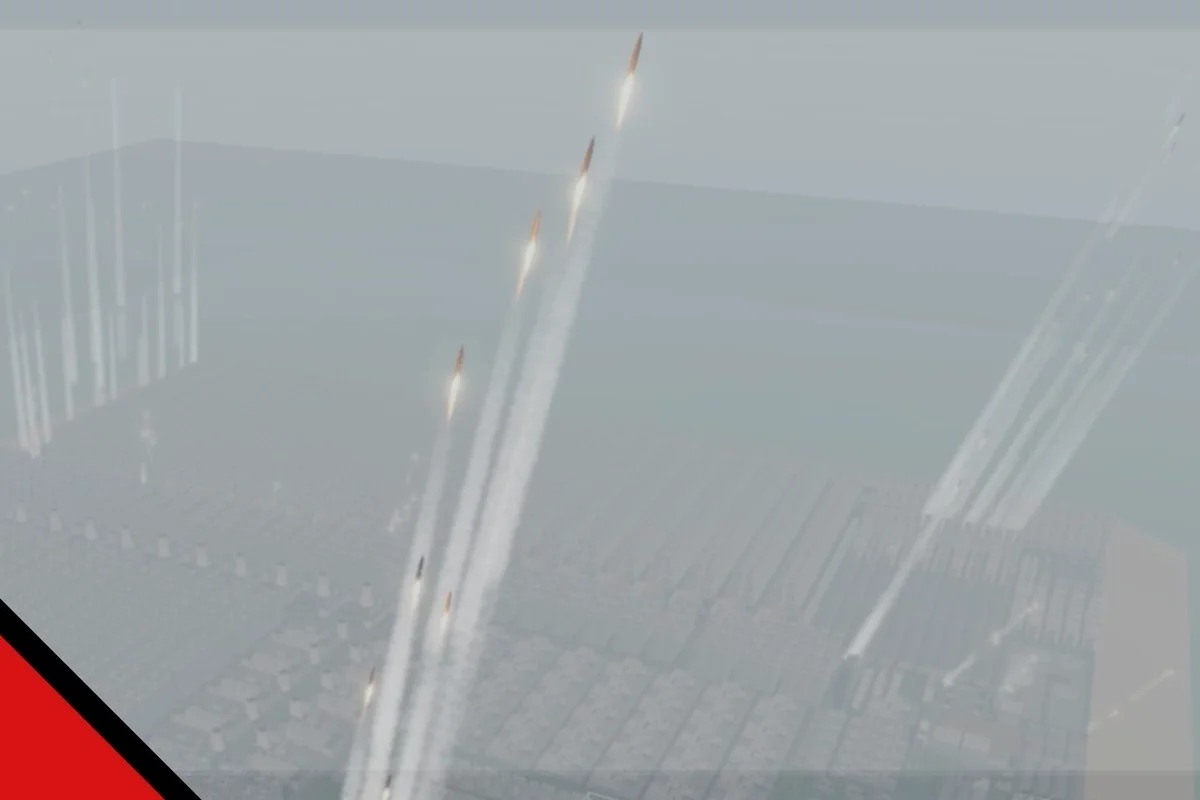
Winning a land war in Build and Conquer rarely comes down to who builds the most units. The V0.1 beta rewards commanders who stack layered defenses, time their pushes around enemy gaps, and use tunnels to bypass static frontlines. This guide breaks down the military tactics that actually flip cities, but winning the map also depends on how your squad splits production, scouting, and frontline roles—see the Build And Conquer Team Strategy for coordinated unit counts and lane assignments that make those pushes stick.
Core Military Tactics Framework
Before committing troops to a mainland invasion, you need a framework that prevents your army from evaporating in the first engagement. The most consistent Build and Conquer military tactics follow a five-step sequence that community footage from the October 2026 beta repeatedly validates. First, stack air defense so your ground columns do not die to missile spam. Second, scout with cheap units or HIMARS before the main force crosses open terrain. Third, move troops through tunnels to reach the mainland quickly. Fourth, strike while the enemy lacks anti-air or anti-missile cover. Fifth, hold captured ground with bunkers and continuous production.
This sequence matters because each step removes a specific failure mode. Skipping air defense means a single missile barrage can delete your entire push. Skipping scouting means you walk into a prepared chokepoint. Skipping tunnel movement means your army takes predictable roads where defenders have pre-sighted artillery. The framework is not a rigid script, but a checklist that prevents the most common wipe scenarios.
| Phase | Core Action | Failure Mode If Skipped |
|---|---|---|
| Preparation | Stack Sea RAM, Iron Dome, RA3 interceptors | Missile barrage wipes ground columns |
| Recon | Scout with cheap units or HIMARS | Army walks into prepared chokepoint |
| Movement | Use tunnels to reach mainland | Predictable road movement gets shelled |
| Strike | Attack when enemy lacks AA cover | Push stalls against layered defense |
| Consolidation | Bunkers + continuous production | Captured ground gets counter-attacked |
The air-defense cap deserves special attention. Community reports from single creators indicate that Sea RAM is limited to six per base, which means you cannot simply spam interceptors until you are invulnerable. That cap forces you to combine Sea RAM with Iron Dome and RA3 interceptors for overlapping coverage. A base that relies on one system will leak missiles, and a base that ignores the cap will waste production on units that never fire.
Tunnel Strategy and Mainland Invasion
The tunnel system is the single most underused tool in Build and Conquer land war tactics. Most players treat tunnels as a novelty, but the verified briefing from the V0.1 beta confirms that moving troops through tunnels is the fastest way to reach the mainland. That speed advantage translates directly into attack timing: an army that arrives two minutes earlier faces a defender who has not finished placing bunkers or repositioning anti-air.
A mainland invasion through tunnels works best when you split your force into two waves. The first wave should be cheap, fast units that reveal enemy positions and force the defender to commit interceptors. The second wave, arriving through a different tunnel mouth, hits the now-exposed flank. This two-wave structure exploits the defender's limited Sea RAM cap, because interceptors spent on the first wave cannot be reused against the second.
Tunnel Exit Selection
Choosing which tunnel exit to use is a strategic decision, not a logistical one. The best exits are those that open behind natural chokepoints, allowing your army to bypass the defender's prepared kill zones. Before committing, send a single scout through each candidate tunnel and check what the defender has placed near the exit. A tunnel mouth covered by bunkers is a trap; a tunnel mouth that opens into open terrain near the city center is a breakthrough.
Combined-Arms Tunnel Push
A tunnel push fails when you send only infantry or only vehicles. The most reliable composition mixes a screening force of cheap infantry with a core of vehicles that can destroy bunkers. The infantry absorbs the first volley of defensive fire, while the vehicles focus down static defenses. Because tunnel exits are narrow, you need to pre-assign unit groups so your vehicles do not get stuck behind infantry pathing.
Chokepoint Strategy and Defense in Depth
Defending in Build and Conquer is not about building a single wall. The strongest bases use a chokepoint strategy that layers multiple defensive lines, so an attacker who breaks through the first line immediately faces a second and third. This approach, often called defense in depth, works because every layer forces the attacker to spend time, ammunition, and units before reaching the city core.
A practical defense in depth layout starts with a forward chokepoint that funnels enemies into a narrow corridor. Behind that corridor, place your first bunker line and a few interceptors. Behind that, place a second bunker line with overlapping fields of fire. The final layer should be your production buildings, so replacement units spawn directly into the fight. The goal is not to stop the attacker at the first line, but to bleed them across three lines until their push collapses.
| Defense Layer | Purpose | Key Units |
|---|---|---|
| Forward chokepoint | Funnel enemies into narrow corridor | Walls, terrain features |
| First bunker line | Inflict initial casualties | Bunkers, Sea RAM |
| Second bunker line | Overlapping fire, bleed attacker | Bunkers, Iron Dome |
| Production core | Spawn replacements into fight | Factories, barracks |
The chokepoint strategy only works if your anti-air coverage extends over the entire corridor. An attacker who can fly missiles over your bunkers without taking losses will eventually grind through any static defense. That is why the air-defense stack comes first in the framework: Sea RAM, Iron Dome, and RA3 interceptors create a layered umbrella that protects your bunkers from missile harassment.
Bunker Placement Patterns
Bunkers should never be placed in a straight line. A staggered pattern, where each bunker can fire into the space in front of the next bunker, creates overlapping fields of fire that punish any unit trying to focus down a single target. Place bunkers slightly behind terrain features so they are partially shielded from direct vehicle fire, but still have line of sight to the corridor.
Attack Timing and Land War Tactics
Attack timing is the difference between a push that breaks a city and a push that dies at the first bunker. The verified briefing emphasizes striking while the enemy lacks anti-air or anti-missile cover, which means you need to read the defender's build order and identify the window when their interceptors are down or repositioning.
That window usually appears in two situations. The first is immediately after the defender repels a previous attack, because their interceptors have spent their ammunition and their Sea RAM may be reloading. The second is when the defender is expanding, because new bases take time to build air-defense coverage. In both cases, the attack timing window is short, so you need your army pre-positioned and ready to move the moment the gap opens.
| Timing Window | Trigger | Optimal Response |
|---|---|---|
| Post-repel | Defender interceptors spent | Immediate second wave through tunnel |
| Expansion | New base lacks AA coverage | Hit new base before Sea RAM completes |
| Production spike | Defender over-invests in economy | Rush before units finish |
| Tech transition | Defender swapping defense types | Strike during swap delay |
Land war tactics in the V0.1 beta reward aggression, but only aggression that is timed. A player who attacks constantly will lose units to prepared defenses and fall behind in production. A player who waits for the right window and then commits everything will break through. The discipline is in holding your army back until the timing is right, then executing the full five-step framework without hesitation.
Reading the Defender's Build
You cannot time your attacks without information. Use cheap scout units to probe the defender's perimeter and watch what they build. If you see multiple Sea RAM platforms going up, the defender is investing in air defense and may be vulnerable to a ground push. If you see a wall of bunkers, the defender is preparing for a ground assault and may be weak to missile harassment. Every build order tells you where the gap is.
Holding Captured Ground
Breaking through a chokepoint is only half the battle. The verified briefing's final step, holding captured ground with bunkers and continuous production, is where most players fail. They push through the first line, celebrate, and then get counter-attacked because they did not convert the breakthrough into a defensible position.
The conversion process starts the moment your first units cross the enemy line. Immediately build bunkers facing the direction of the enemy's remaining forces, not the direction you just came from. Start continuous production of cheap units so your army does not shrink while you consolidate. And most importantly, do not chase fleeing defenders too far, because that stretches your line and opens gaps for a counter-attack.
Counter-Attack Prevention
The most dangerous moment in any mainland invasion is the ten minutes after you capture the first objective. The defender knows exactly where you are, and their production buildings are still intact. To survive that window, you need to destroy or capture the defender's production buildings before they can rebuild their army. A captured factory that produces your units instead of theirs is worth more than three bunkers.
Frequently Asked Questions
What are the best Build and Conquer military tactics for beginners?
Start with the five-step framework: stack air defense, scout with cheap units, move through tunnels, strike when the enemy lacks anti-air cover, and hold ground with bunkers. This sequence prevents the most common wipe scenarios and builds good habits before you attempt advanced chokepoint strategies.
How does the tunnel strategy work in Build and Conquer?
Tunnels let you move troops to the mainland quickly, bypassing predictable roads where defenders pre-sight artillery. Send a scout through first to check the exit, then commit a combined-arms force. The best tunnel exits open behind enemy chokepoints, letting you hit the defender's flank instead of their prepared front.
What is defense in depth in Build and Conquer?
Defense in depth means layering multiple defensive lines instead of building one wall. A forward chokepoint funnels enemies into a corridor, bunker lines bleed them across overlapping fields of fire, and production buildings spawn replacements directly into the fight. Each layer forces the attacker to spend time and units.
When is the best time to attack in Build and Conquer?
Attack immediately after the defender repels a previous push, because their interceptors have spent ammunition and their Sea RAM may be reloading. Also strike when the defender is expanding, since new bases lack air-defense coverage. Both windows are short, so keep your army pre-positioned and ready to move.
How many Sea RAM can I build per base?
Community reports from single creators indicate Sea RAM is limited to six per base in the V0.1 beta. That cap forces you to combine Sea RAM with Iron Dome and RA3 interceptors for overlapping coverage. Relying on one system will leak missiles, and exceeding the cap wastes production on units that never fire.